Signing an iOS build
Prerequisites
- Get your mac setup for signing apps, see Setup_signing.md
Steps
Download the build locally using
aws s3 cp. You can find the command needed added to the issue by the builder.Untar the file and cd into the directory
tar -xzf ${timestamp}_${KT_APP}${KT_TAG}
cd ${timestamp}_${KT_APP}${KT_TAG}- Open the project in Xcode
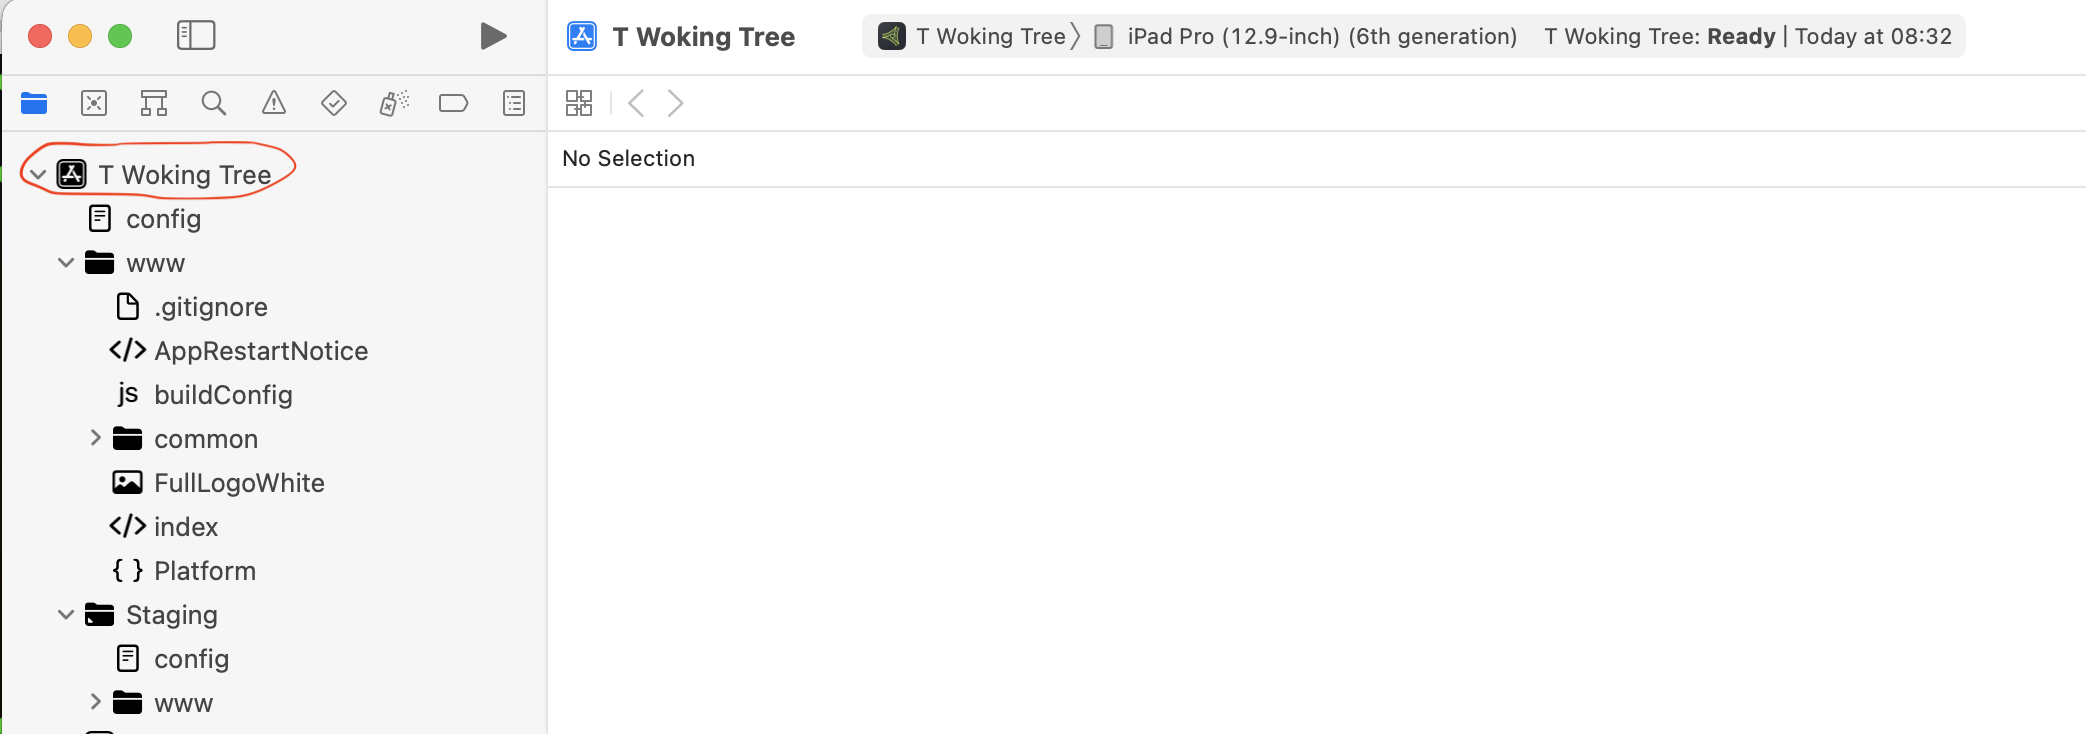
open platforms/ios/${KT_APP}.xcodeproj- Select the Scheme and Device you want to build for on the left hand side of the Xcode window. Don't select CordovaLib, select the app name.
Example screenshot
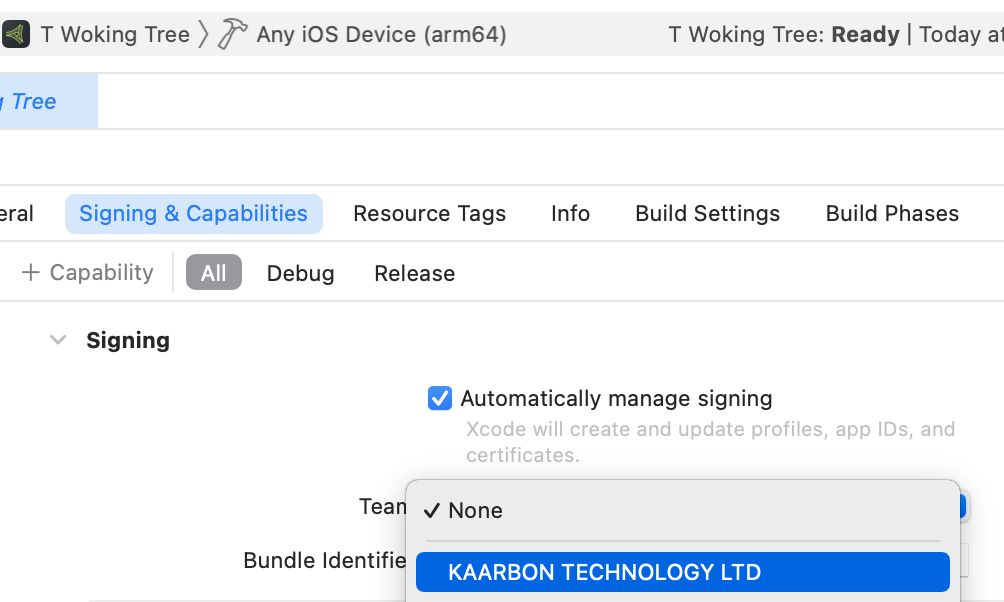
- Under the Signing and Capabilities tab, select the Team you want to sign with. If this is not setup, see Setup_signing.md.
Example screenshot
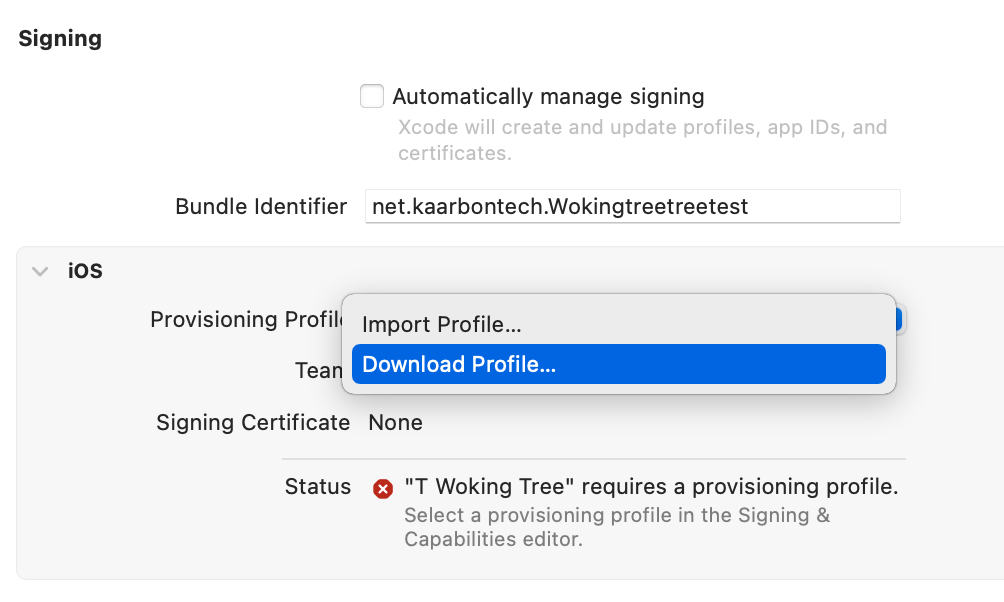
- Untick Automatically Manage signing to reveal extra options. Select the most recent adhoc profile. If none are available select Download Profile from the Provisioning Profile dropdown to download the most recent profile.
Choose the same for both Debug and Release, this will collapse the options into one.
Example screenshot
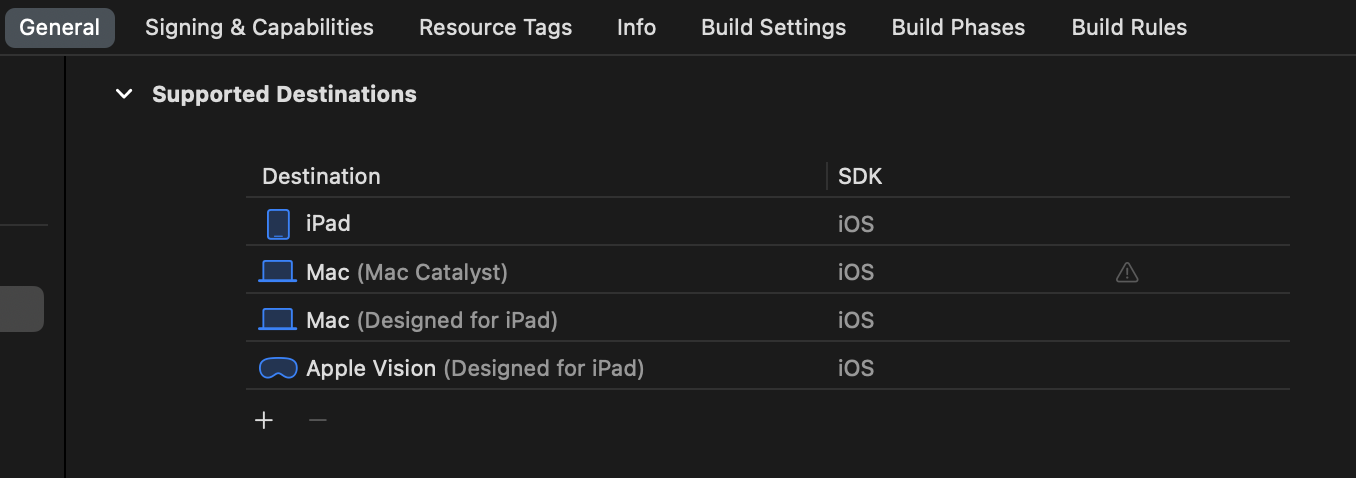
- Under the General tab. Find the "Mac" and "Apple Vision" destinations and click on the minus sign when either is selected to remove them from the list. The iPad should be the only destination.
Example screenshot
Make sure the correct destination is selected in the top left of the Xcode window. This should be Any iOS Device and not a specific device or simulator.
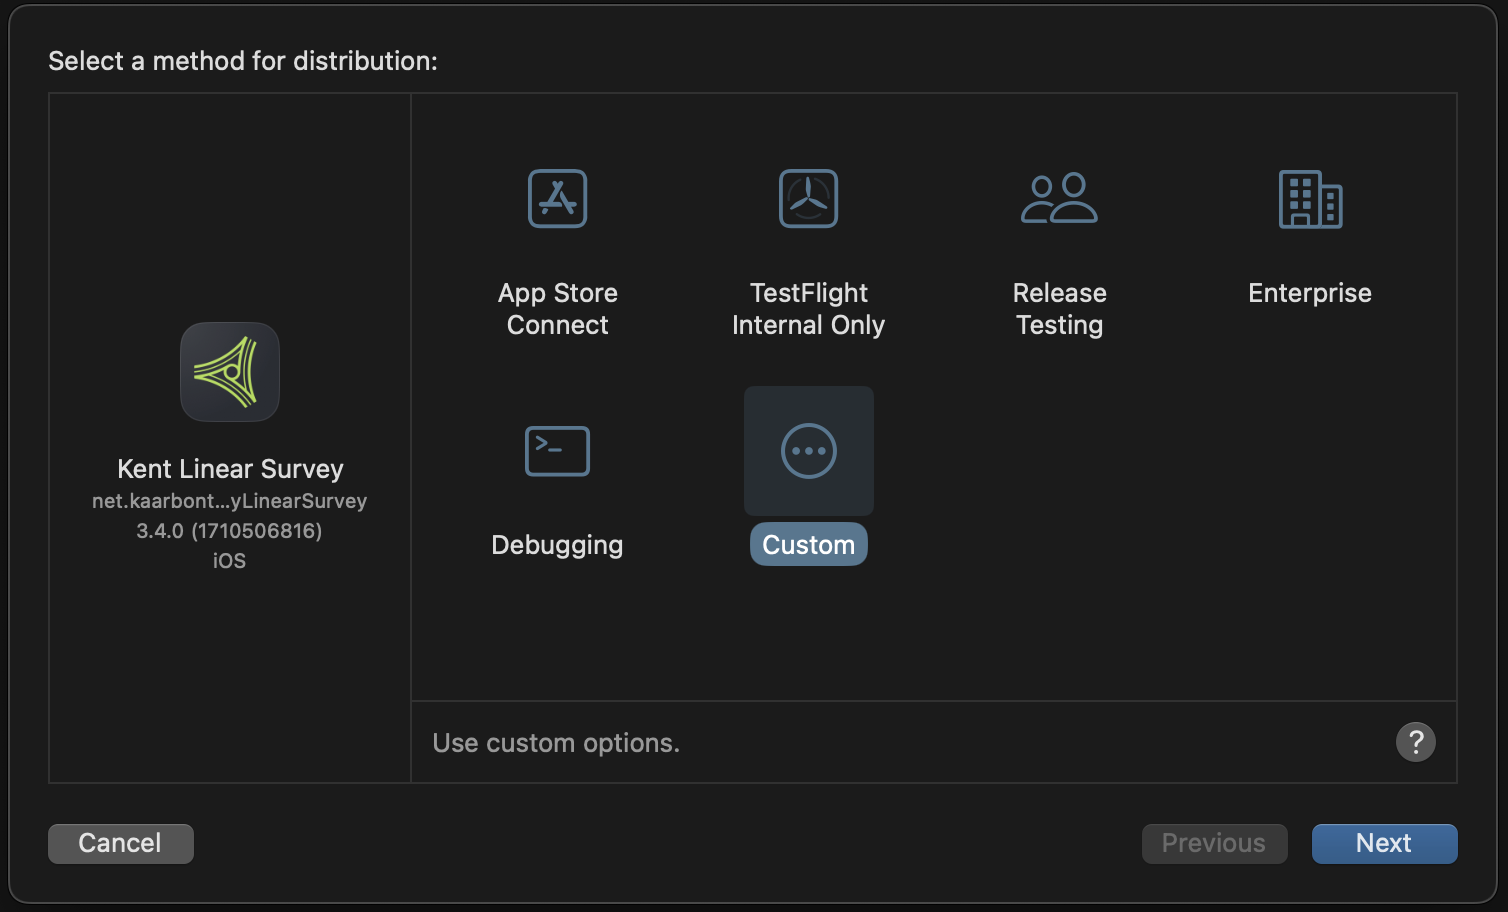
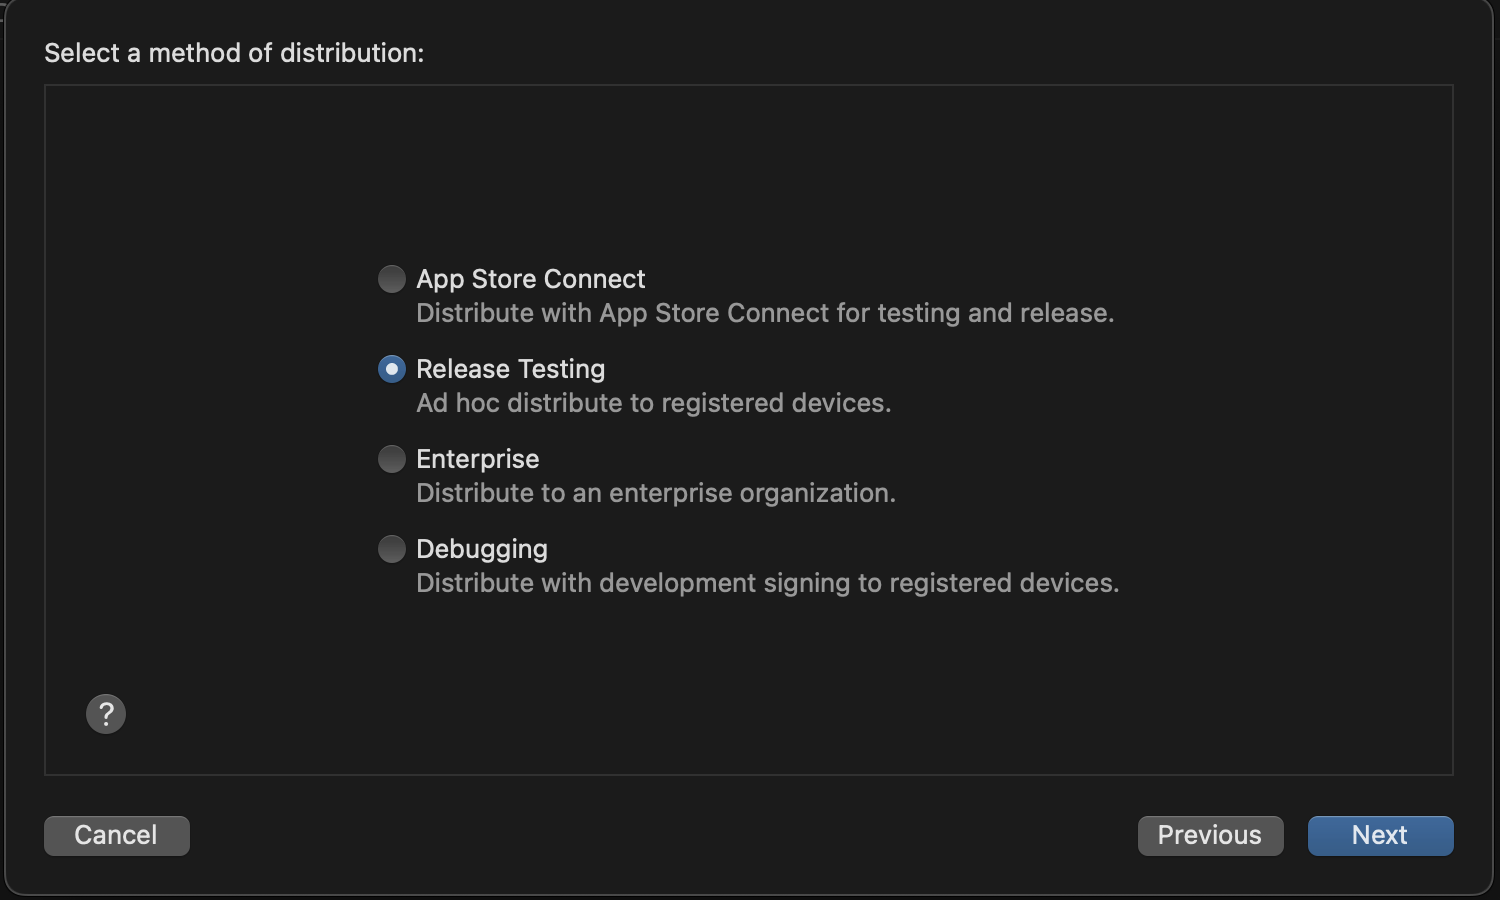
Create an archive by going to Product > Archive from the top menu. Once the archive has been created, select Distribute App, select the Custom and then select the Ad Hoc type.
Example screenshot
Set app thinning to none, and Untick "use manifest for over-the-air installations".
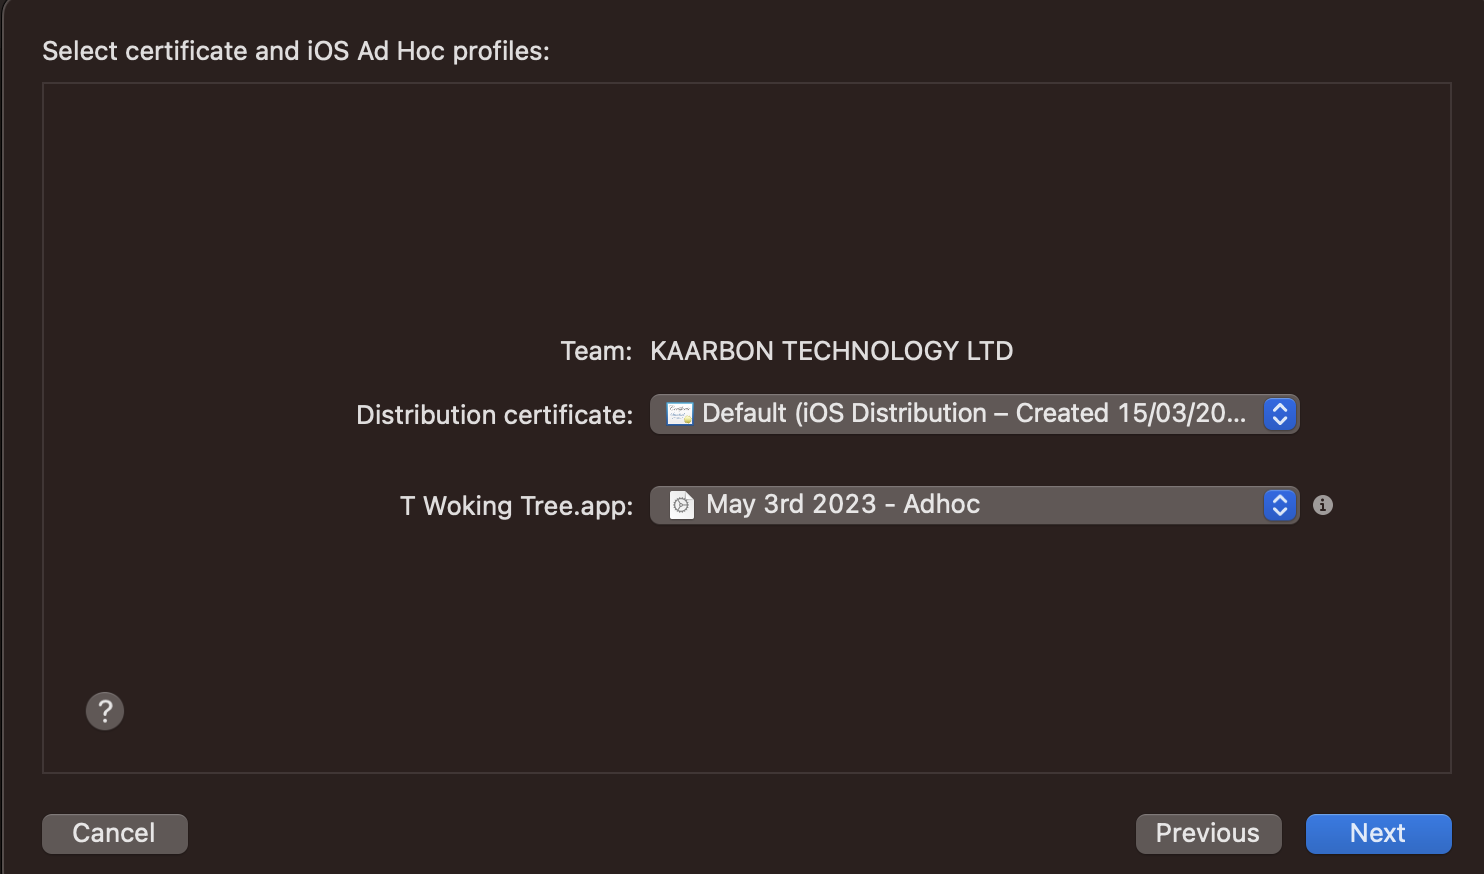
You will get prompted for the signing profile for the adhoc build. Select the most recent one.
Example screenshot
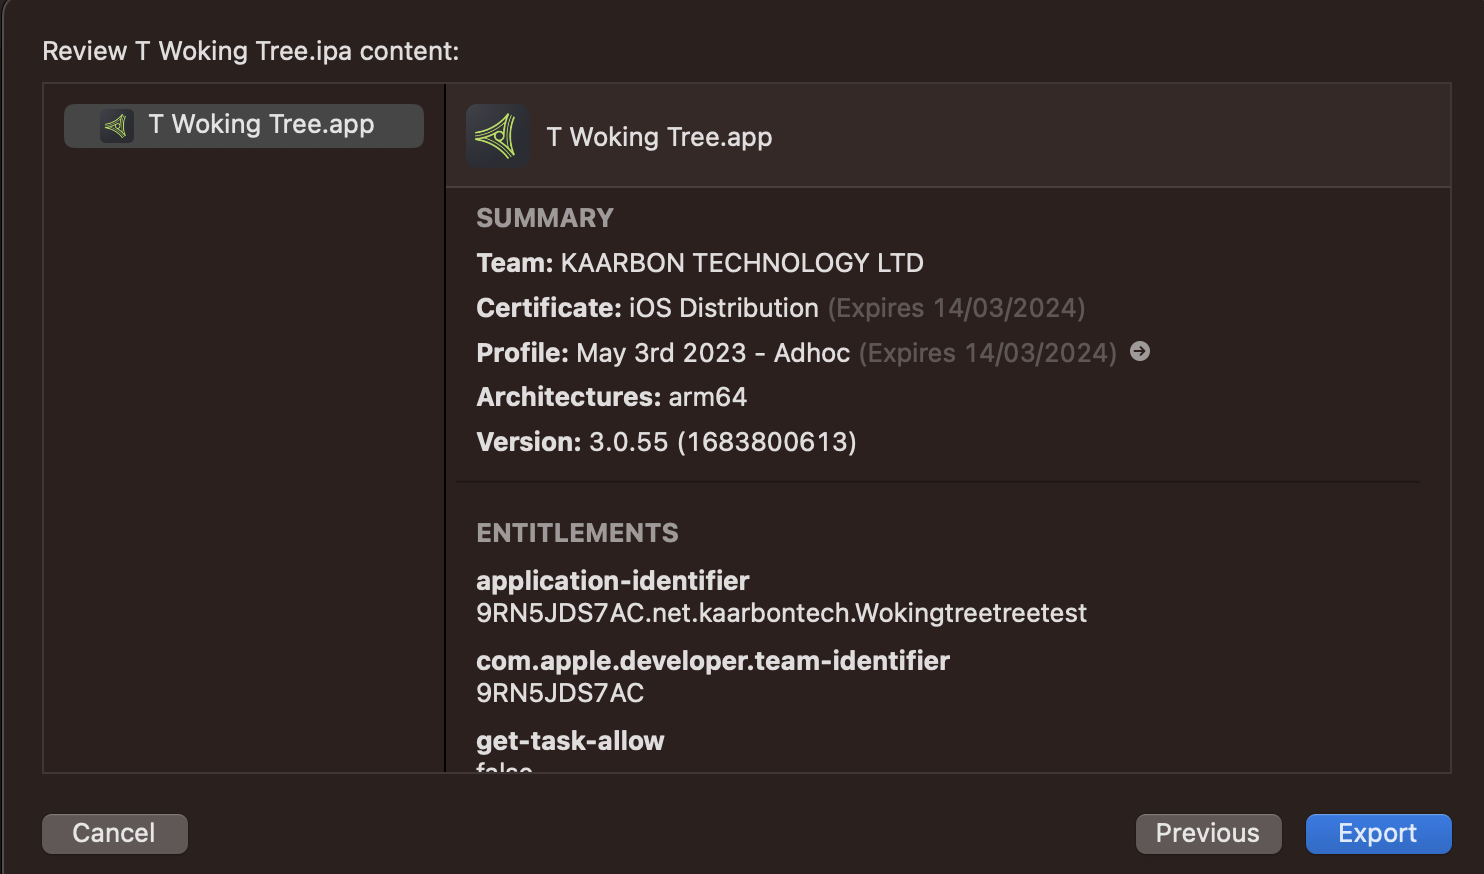
- The distribution will have been created and you can export it to a folder. This will create a folder with the app.ipa and manifest.plist files.
Example screenshot
- Upload the files to the s3 bucket using
aws s3 cp. You will find the upload commands will be added to the issue comment by the builder.